Products: 4331, 4194, 4335, 4332, 4170, 4171, 4172, 4174, 4102, 4103, 4598, 4599, 4193, 4449, 4935, 4952, 4953, 4950, 4954, 4951
How to determine what substrate your product is:
Aluminum: your product has a silver edge
FRP: your product has a white edge
Hardboard: your product has a black/brown edge
Natural Wood: your product has a wood finish
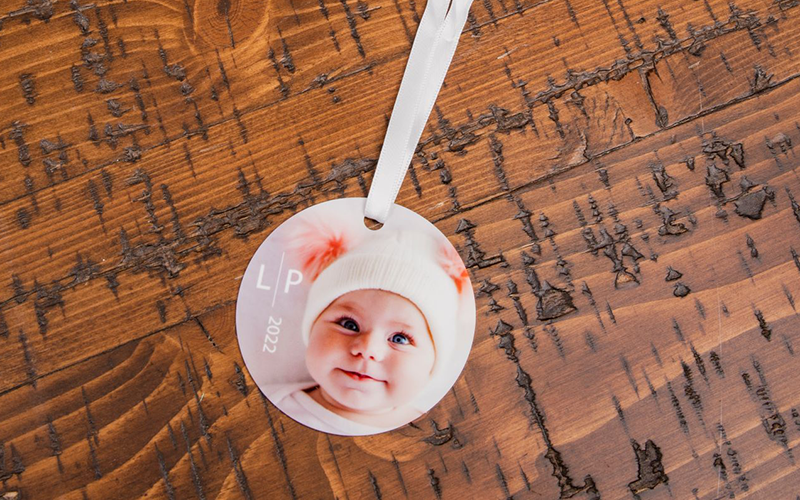
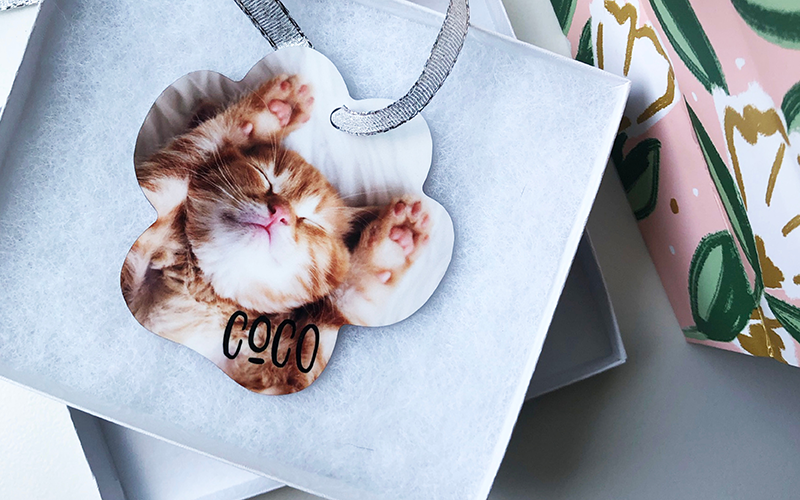
Learn how to sublimate Unisub ornaments! Our ornaments are shatterproof, vibrant, and make a great gift any time of the year.
Ornaments are available in aluminum, MDF, FRP, hardboard and natural wood substrates. Ornaments are available in both one- and two-sided options. Instructions are similar for each substrate, but be sure to follow the ones that apply to the product you are using! If you are searching for ornament templates, graphics or other assets click here.
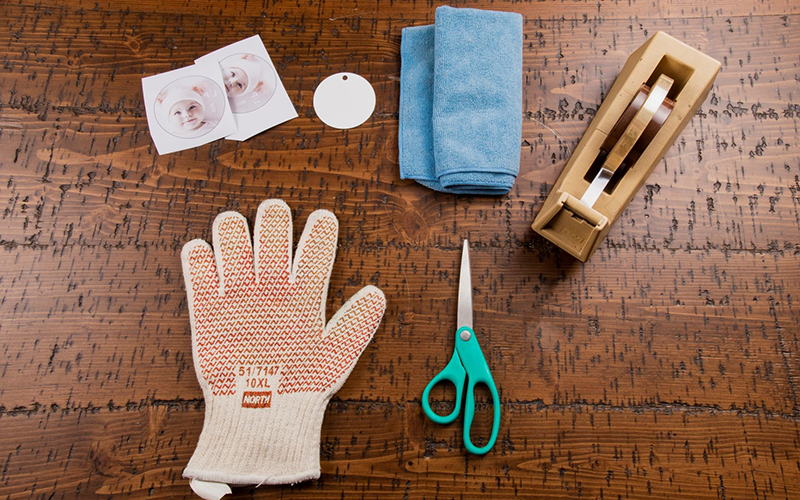
What You Need
- Blank Unisub Ornament
- Transfer(s) from your sublimation printer
- Heat Tape
- Scissors
- Clean, lint free cloth
- Heat resistant gloves
- Protective paper (Blow Out Paper)
- Heat press set to 385°F / 195°C
instructions
Step 1. Get Your Heat Press Ready
Turn on your heat press. We recommend pressing all of our products at 385°F / 195°C. Be sure to lay a piece of protective paper on the bottom of the press.
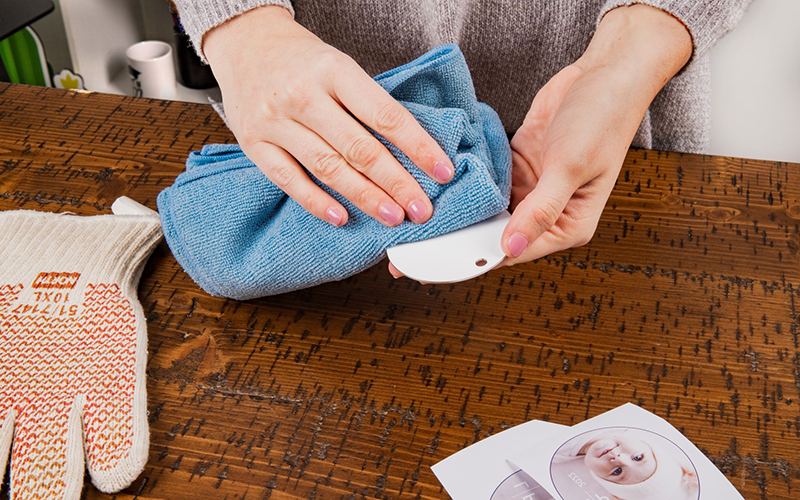
Step 2. Prep your Ornament
Remove any film that may be on the surface of the ornament. Clean off the ornament surface with a cleaning cloth, all-purpose cleaner, or a can of compressed air.
Step 3. Pair the Transfer with the Ornament
Lay the transfer down on a flat surface with the printed image facing up. Place one side of your ornament on top of the transfer and line it up. Take two pieces of heat tape and secure the ornament to the transfer.
Note: For FRP, hardboard, or natural wood ornaments press one side at a time, and follow instructions 4 – 8. If you have an aluminum ornament you have the option of pressing both sides at once.
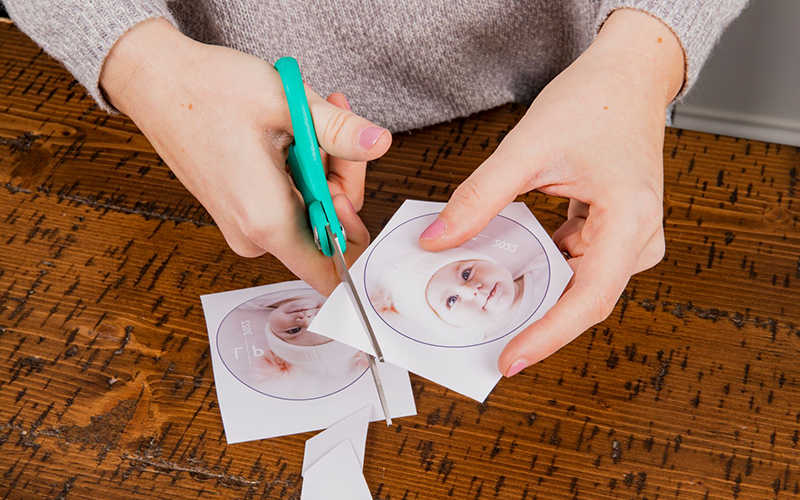
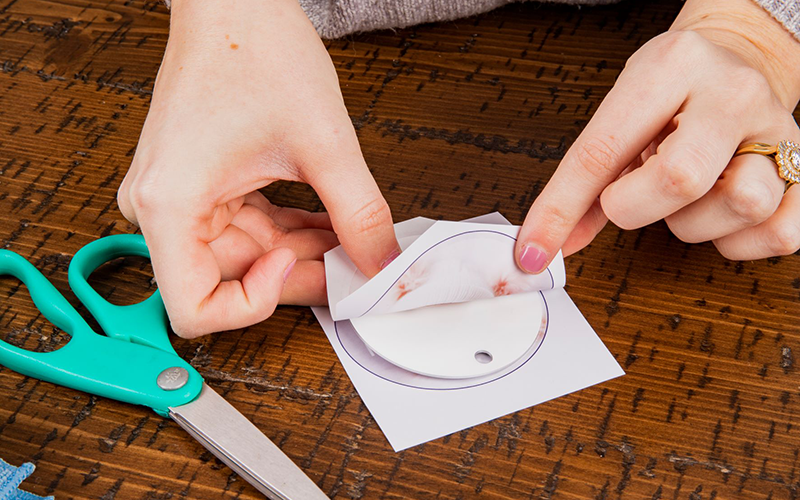
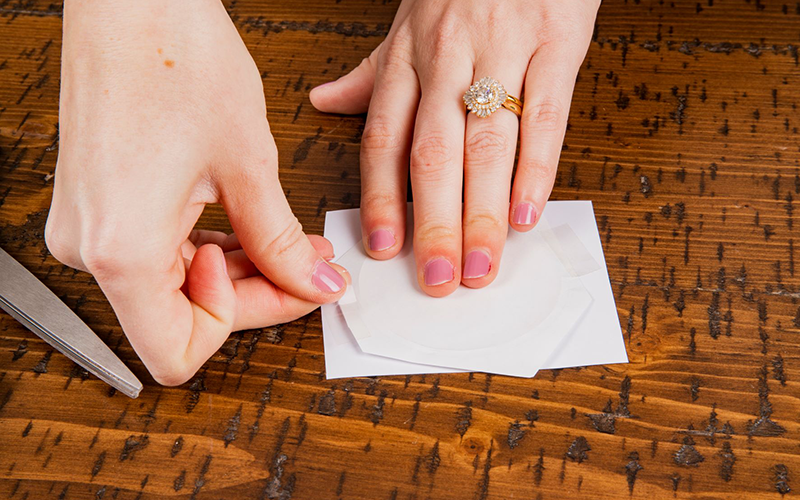
Instructions for pressing both sides at once are as follows: Using scissors cut most of the excess white paper off from around the design. Lay the transfers down on a flat surface with the printed images facing up. Pair the ornament with one of the transfers. Take it into your hand and using your finger create a crease of the product on the transfer. Place the ornament and transfer on top of the other transfer. You can raise the corners of the top transfer to make sure that your ornament is covered by both transfers. Using two or three pieces of heat tape, tape the two transfers together to create a pouch. Try to avoid putting heat tape on the surface of the ornament as it may cause discoloration during sublimation. Next follow instructions 4 and 5.
Step 4. Let’s Sublimate!
Place the transfer and ornament into the heat press with the transfer on top. Lay another piece of protective paper on top of the ornament. Confirm that the heat press is at the correct temperature. Pressing times are below.
Step 5. Remove Ornament from the Heat Press
Once the timer is done use heat-protective gloves to remove the bag tag from the press. Let cool.
Step 6. Press the Other Side of the Ornament
Allow your ornament to cool down. Lay the second transfer on a flat surface with the printed image facing up. Line up the transfer and the ornament and, using two pieces of heat tape, tape the two together. Be careful to put as little tape on the ornament surface as possible— when pressing the second side, heat tape can sometimes lighten the image and leave depressions in the coating.
Step 7. Let’s Sublimate!
Place the transfer and ornament into the heat press with the transfer on top. Lay another piece of protective paper on top of the ornament. Confirm that the heat press is at the correct temperature.
Step 8. Remove Ornament from the Heat Press
Once the timer is done use heat-protective gloves to remove the ornament from the press. Let cool.
Attach ribbon by threading it through the top hole and tying a knot. Enjoy your new ornament!