Products: 4673, 5634, 1013, 1014
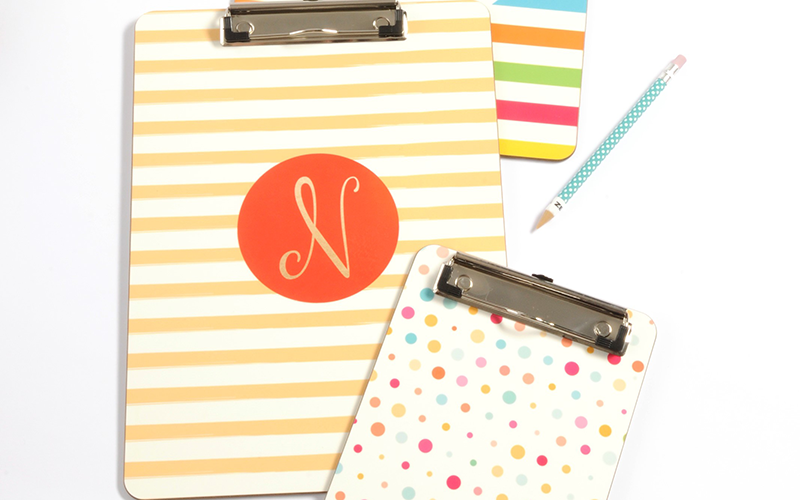
Learn how to sublimate and assemble Unisub clipboards. The perfect addition to a home, or office space.
Our clipboards are made out of a hardboard/wood material and are two-sided. Clipboards come in a few different shapes, sizes and we have two variations in clips. The clipboard set will come with a blank hardboard piece, clip, two rivets and stems, and a rivet setter. First, we will walk through how to sublimate the hardboard piece, and then we will show you how to assemble the clip to the board. If you are searching for templates, graphics, or other assets click here.
What You Need
- Blank Unisub clipboard
- Rivets and stems
- Rivet setter
- Hammer
- Transfer(s) from your sublimation printer
- Heat Tape
- Scissors
- Clean, lint free cloth
- Heat resistant gloves
- Protective paper (Blow Out Paper)
- Heat press set to 385°F / 195°C
instructions
Step 1. Get Your Heat Press Ready
Turn on your heat press. We recommend sublimating our two-sided clipboards at 360°F.

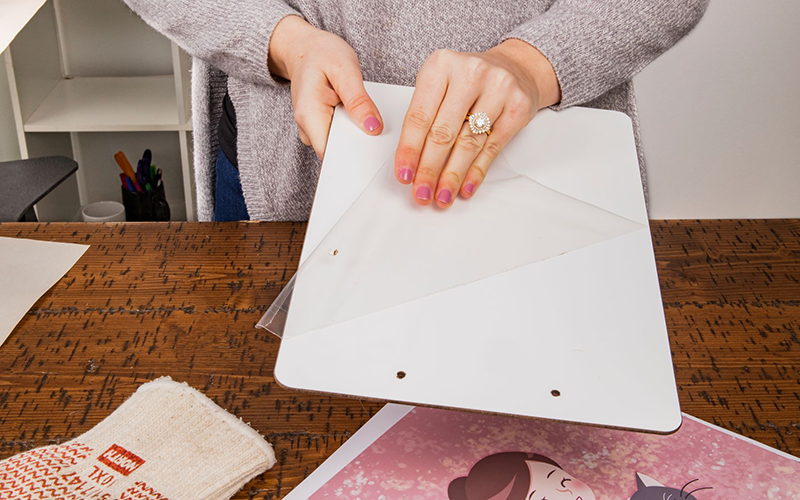
Step 2. Prep Your Clipboard
Remove any film that may be on the surface of the board. Clean off the board with a cleaning cloth, all purpose cleaner, or a can of compressed air.
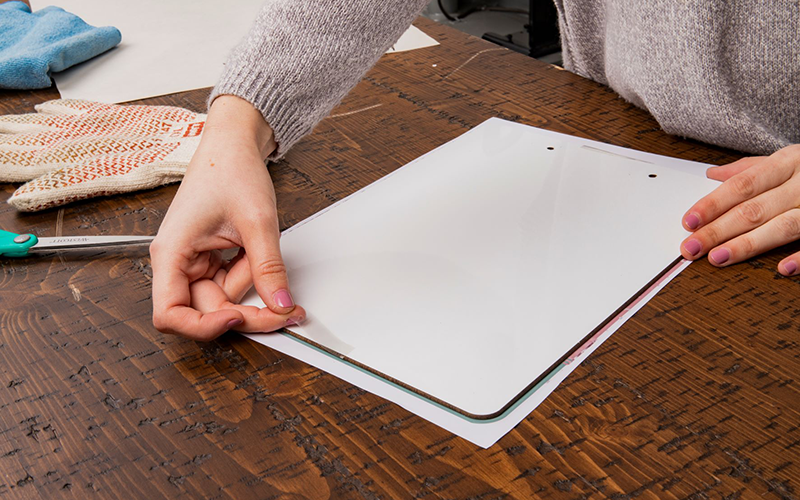
Step 3. Pair the Transfer With the Clipboard-Side 1
Lay the transfer down on a flat surface with the printed image facing up. Place the board on top of the transfer and line it up. Tape the board to the transfer using heat-safe tape.
Step 4. Let’s sublimate!
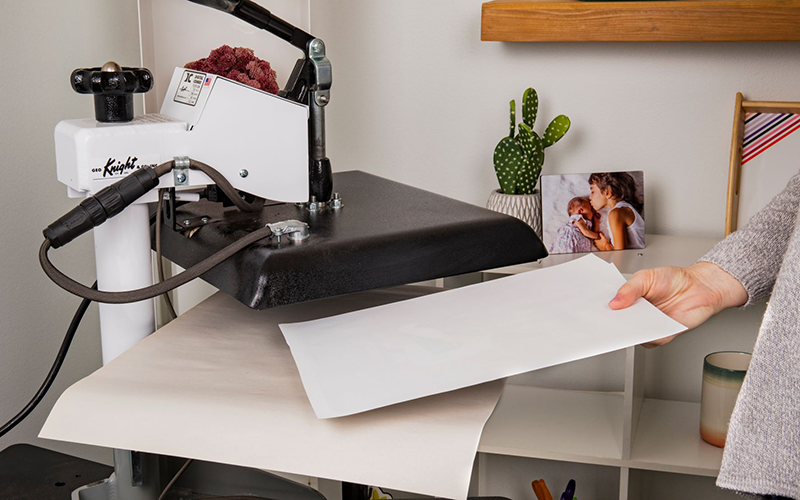
Place the transfer and board into the heat press with the transfer on top. Lay another piece of protective paper on top of the board. Confirm that the heat press is at the correct temperature. Pressing times are below.
Mini Clipboard: 2:00 3:00 minutes, 1 side at a time
Standard, Creative Border Clipboard: 2:30-4:00, 1 side at a time
Step 5. Remove the Clipboard from the Heat Press
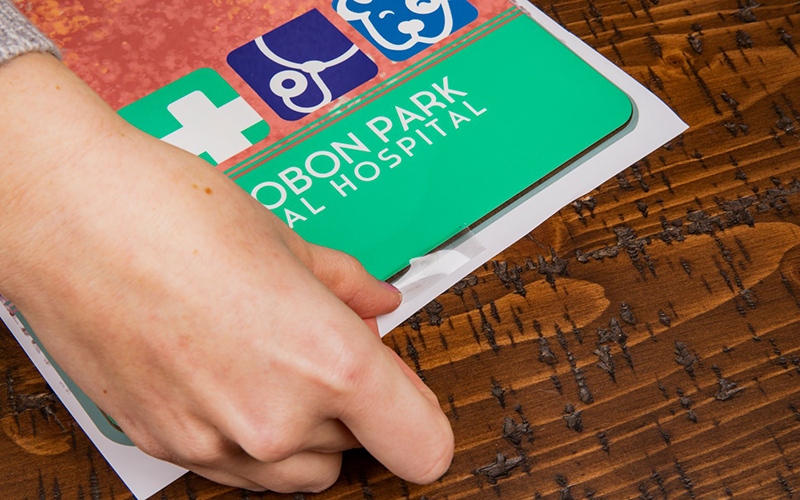
Once the timer is done use heat-protective gloves to remove the board from the press. Let cool.
Step 6. Pair the Transfer with the Clipboard-Side 2
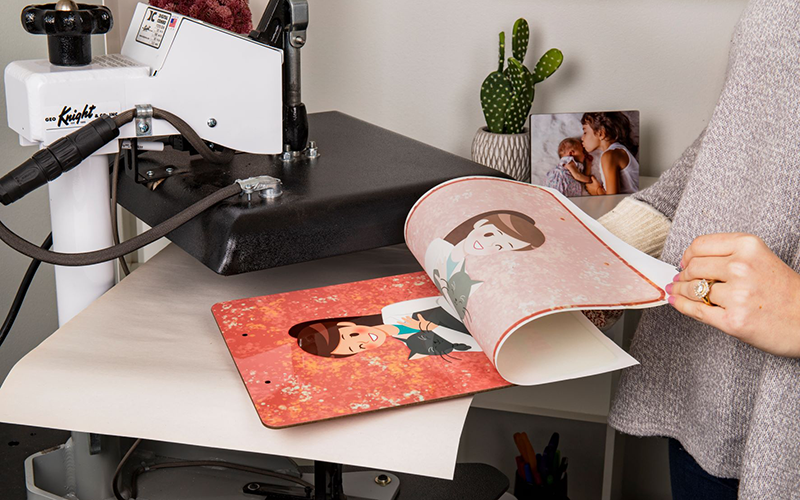
Once the board has cooled to the touch, you can sublimate the other side of the clipboard. Repeat the process. Lay the second transfer down on a flat surface with the printed image facing up. Place the opposite side of the board on top of the transfer and line it up. Tape the board to the transfer using heat tape. Try to line the tape up so that it doesn’t lay over the coating on the other side—during the sublimation process, the tape can leave an impression in the coating or even discolor the image if it’s already been sublimated.
Step 7. Let’s sublimate!
Place the transfer and board into the heat press with the transfer on top. Lay another piece of protective paper on top of the board. Confirm that the heat press is at the correct temperature.
Step 8. Remove the Clipboard from the Heat Press
Once the timer is done use heat-protective gloves to remove the board from the press. Let cool.
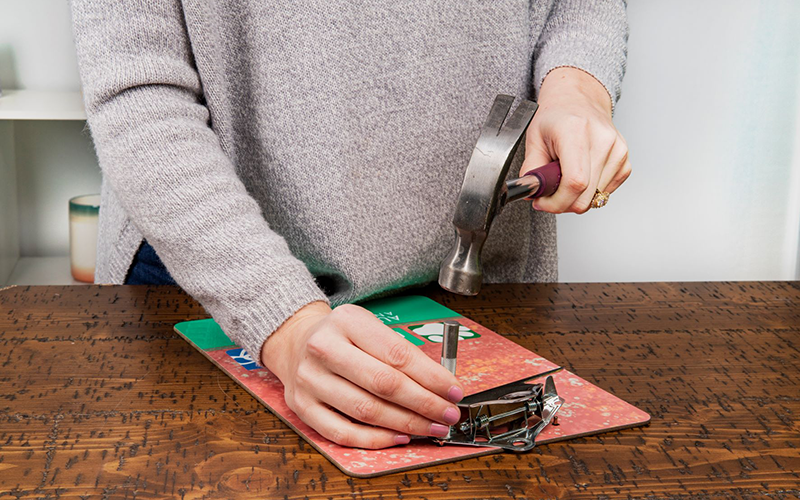
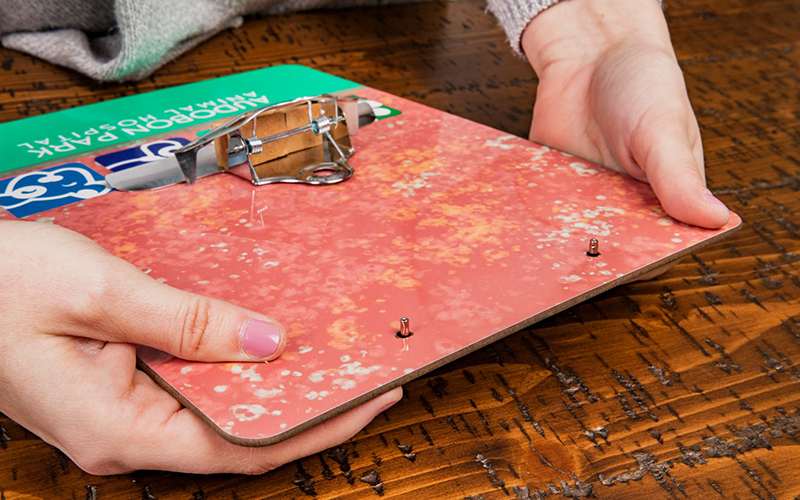
Step 9. Assemble Clipboard
Once the clipboard has cooled you can begin assembly. If you are assembling a clipboard with a traditional clip, you will need to hold the clip open. Ideally, hold it open with a wooden block.
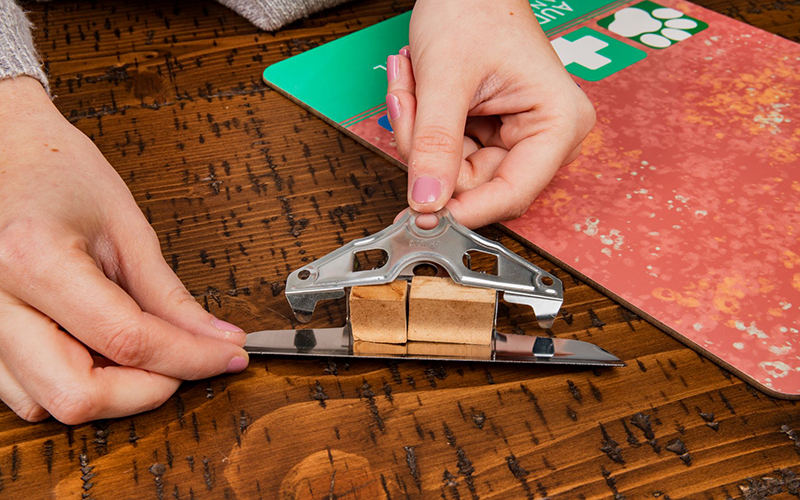
Next, place the rivet stems in the holes and place the clip.
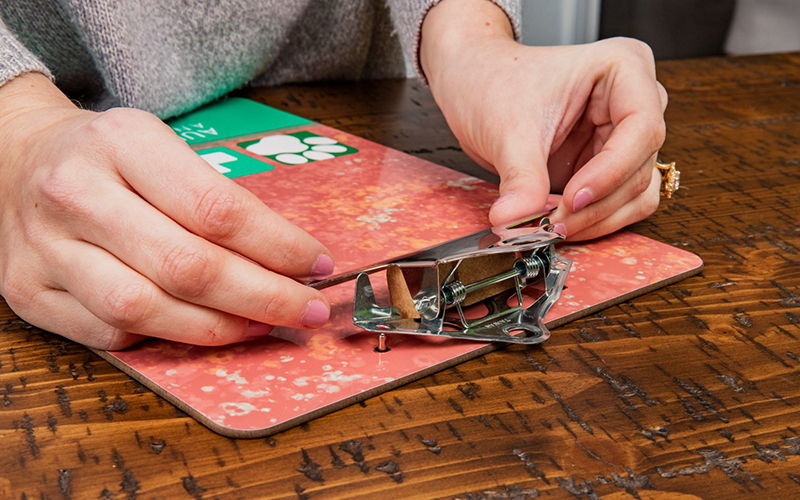
Next, place the rivet caps on their stems. The caps will slot snugly onto the stems. Prepare to use the setter by placing its divot end against the rivet cap. Hammer the rivets in by using the setter. You only need to tap 5-7 times on each rivet until the clip feels secure when opened. Note: if you do not use an anvil or set the rivets on a hard surface, you could damage the surface below the rivets. Once done, the clip should feel secure and not have any give when opened.