Learn how to sublimate Unisub key hangers. Hang keys, a dog leash, or even jewelry!
Key hangers are made from our MDF (medium density fiberboard) material, with a black edge. Once your key hanger is sublimated, follow along with the instructions for assembly listed below. If you are searching for templates, graphics, or other assets click here.
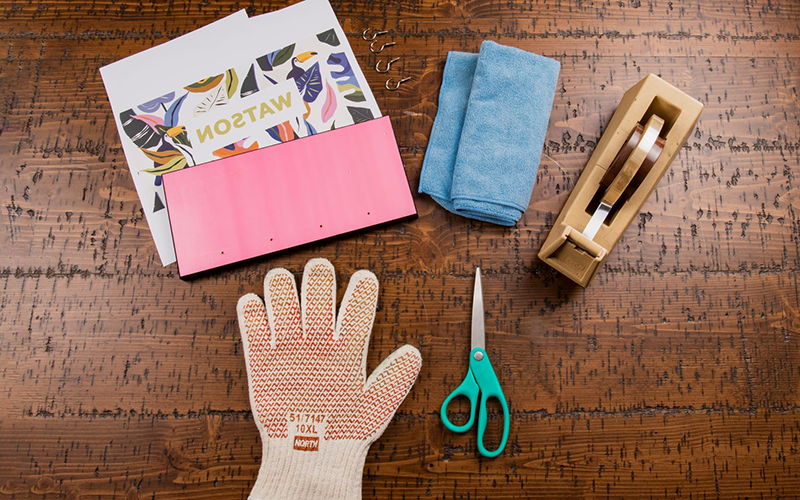
What You Need
Blank Unisub key hanger and hooks
Transfer from your sublimation printer with extra space on two sides
Heat Tape
Scissors
Clean, lint free cloth
Heat resistant gloves
Protective paper (Blow Out Paper)
Heat press set to 385°F / 195°C
instructions
Step 1. Get Your Heat Press Ready
Turn on your heat press. We recommend pressing all of our products at 385°F / 195°C. Be sure to lay a piece of protective paper on the bottom of the press.
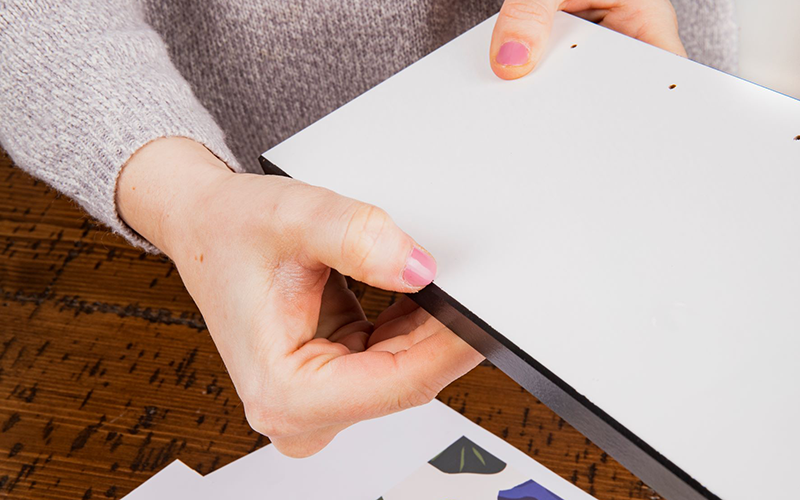
Step 2. Prep Your Key Hanger
Remove any film that may be on the surface of the key hanger.
There may be black particles around the edge of the product due to the nature of the substrate. You can clean this with your all-purpose cleaner or run your fingernail along the edge to scrape it away. Wipe the surface of the product with a cleaning cloth, all-purpose cleaner, or a can of compressed air after you remove the particles.
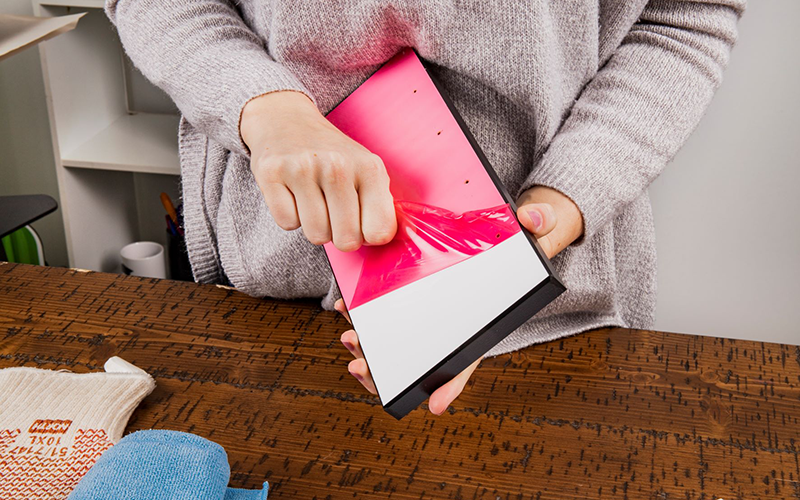
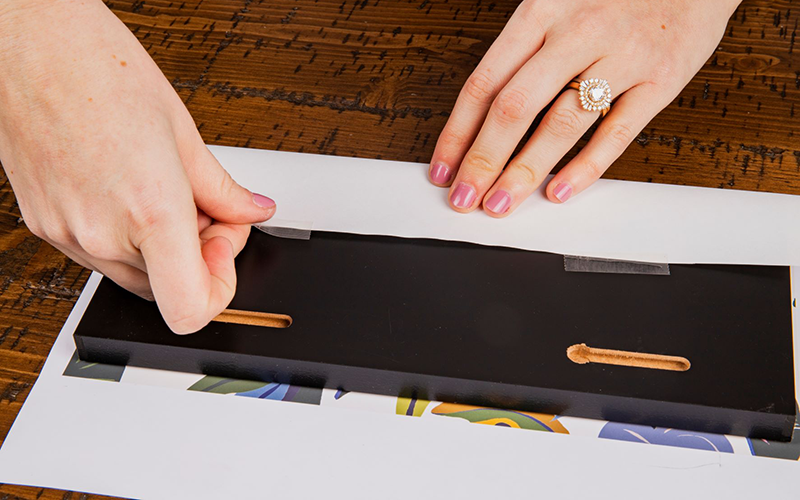
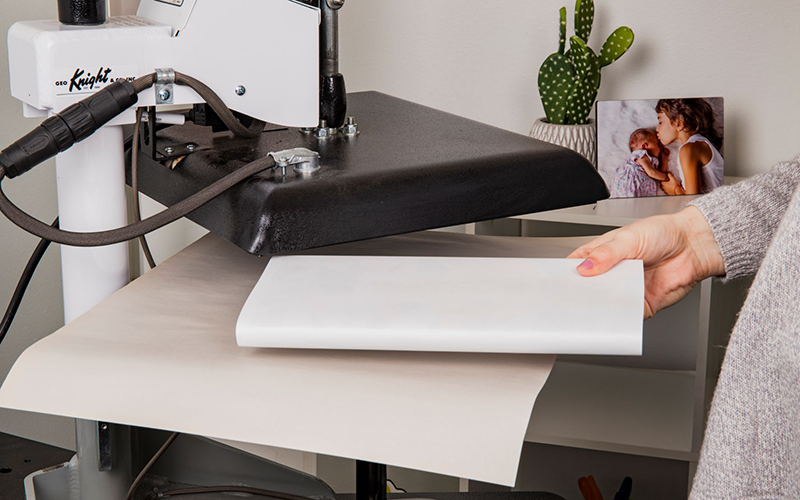
Step 3. Pair the Transfer with the Key Hanger
Lay the transfer down on a flat surface with the printed image facing up. Place the key hanger on top of the transfer. Fold the edge of the transfer over the edge of the key hanger and tape the transfer to the back of the product. Avoid placing tape directly against the edge of the MDF, the tape may take the foil off the edge.
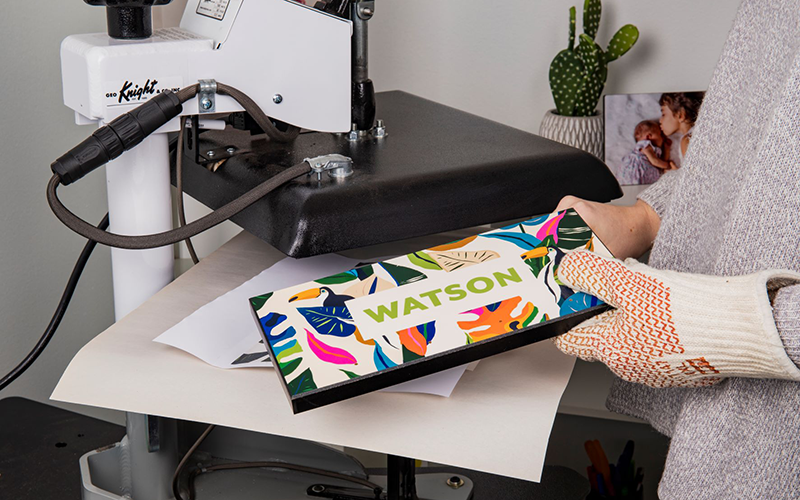
Step 4. Let’s Sublimate!
Place the transfer and key hanger into the heat press with the transfer on top, the product facing up. Lay another piece of protective paper on top of the key hanger. Confirm that the heat press is at the correct temperature. Pressing times are below.
MDF Key Hanger: 1:50 – 2:00 minutes
Step 5. Remove Key Hanger from the Heat Press
Once the timer is done use heat-protective gloves to remove the key hanger from the press. Let cool.
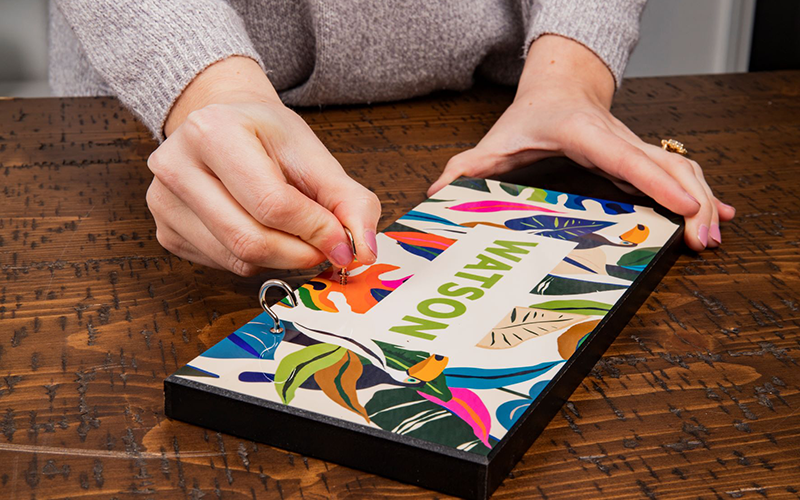
Step 6. Assemble Key Hanger
Once the key hanger has cooled you can attach the hooks. Line the hook up with the pre-drilled hole and begin turning until the hook is securely in the hole. Repeat with the other three hooks.