
Substrate: Hardboard
Products: 4937, 4938, 5709, 5673, 5700, 5710, 5672, 5699, 5709, 5688, 5987, 5710, 5986, 5985, 5709
Learn how to produce and sublimate a Serving Tray.
What You Need
- Bare Unisub Hardboard Tray Insert
- Heat Press
- Cleaning Cloth
- Printed Transfer
- Heat Gloves
- All-Purpose Cleaning Fluid
- Sublimation Printer
- Heat Tape
- Blowout Paper
- Printing RIP Software
- Scissors
- Phillips Head Screwdriver
instructions
Step 1.
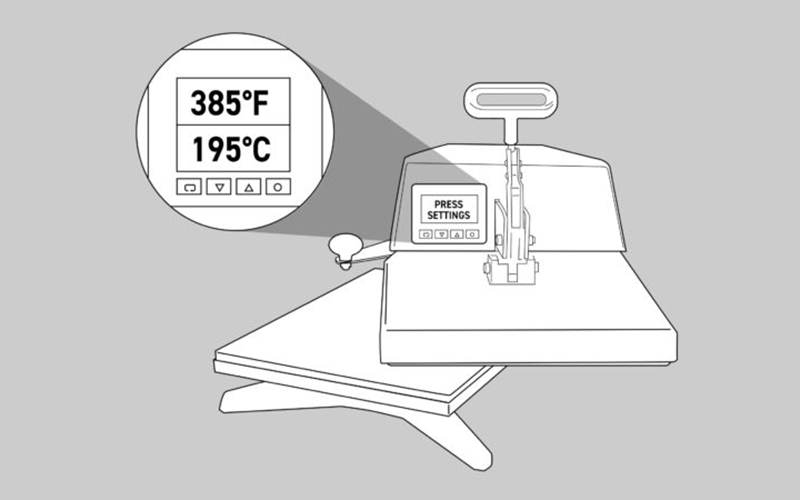
- Turn on your heat press.
- Set the temperature to 385°F / 195°C (temperatures based on prints made with small desktop sublimation printers).
- Strong pressure is recommended (settings may vary based on equipment).
- Add a sheet of protection paper (blowout paper) on the bottom plate of the heat press.
Step 2.
- Take your blank and peel the protection film from the product.
Step 3.
- Clean the surface with all-purpose cleaner, a cloth, and compressed air.
Step 4.
- Next, line up and center the product to the transfer.
- Tape the transfer to the back of the product.
Step 5.
- Add everything in the center of the bottom plate of the heat press.
- Make sure the item receiving the transfer is facing up and the printed transfer is facing down on top of the receiving item.
- Add a layer of blowout paper or Endura on top of your printed transfer.
- Set the correct temperature & time (see below)
- Close the heat press so the sublimation process starts.
Step 6.
- When the sublimation process stops, remove immediately the transfer paper and allow the product to cool down.
- Attention: the item will be hot, so wear protective heat gloves.
Product | Temperature | Time* |
Hardboard Serving Trays (small) Hardboard Serving Trays (large) | 385° F/195° C 385° F/195° C | 1:40 – 2:00 1:50 – 2:10 |
* sublimation time only valid for small format heat presses
Step 7.
- Assemble the tray by lining up part A (2 times) with the corresponding holes in part B. Make sure the routed channels face inside.
- Install a screw in the top hole (you will install the bottom screw later).
Step 8.
- Take the sublimated tray insert.
- With three sides now partially assembled, slide the tray insert into the routed channels.
- Make sure the tray insert is securely seated within the routed channels.
Step 9.
- With the routed channels facing inside, line up the ends of parts A with the holes of the second part B.
- Make sure the tray insert is positioned securely in all the routed channels.
- install screws in all remaining holes.
Step 10.
- Glue on the back the 4 round protection stickers in the corners of the serving trays.