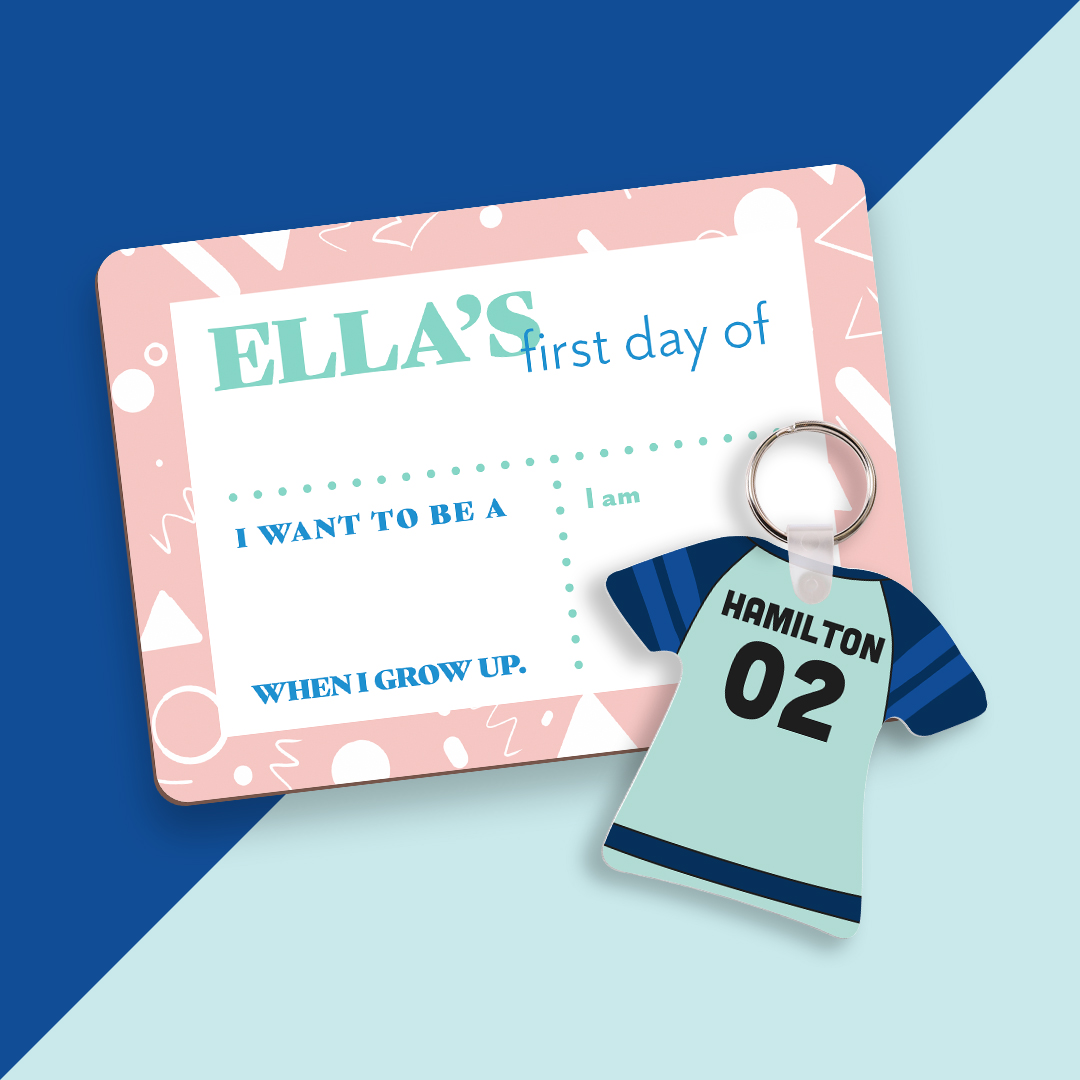
How To Use Glowforge with Unisub THB (Tempered Hardboard)
HOW TO USE UNISUB 0.125” HARDBOARD ON A GLOWFORGE:
Interested in cutting your own shapes with Unisub material? Get all the benefits from Unisub material, while designing custom shapes! This article will walk you through the recommended settings to cut Unisub .125″ Hardboard, based on our thorough testing.
It is worth noting we did our testing with a Glowforge Pro (it has a 55W laser, more powerful than the 50W and 45W of their other models), so it may be necessary to complete two passes to fully cut shapes.
- Open the Glowforge app (app.glowforge.com). Click on “Create a new design” to open your workspace.

2. Input your material settings. Click on “Unknown” in the upper left corner. Click “Use uncertified material” and type in 0.125 as the thickness.

3. If your design is placed, click on it on the sidebar. Click on “Manual” to input the laser settings. Set the speed to 160 and set the power to full power, using the toggle button.


4. Place your Unisub hardboard in the bed of your Glowforge, coating/film side up. Move your design, in the app, so that it is on top of the hardboard. Print and let the Glowforge work its magic.
Note: If you’re printing a puzzle, you may want to remove the film first, for sake of ease.
Looking for projects to make on your laser cutting machine? Look no further. Click here for inspiration.


